

Pic. 1
Hello and welcome to this week's article! Today we will talk about How to Record Cymbals!
There are many ways to record Cymbals, and the technique has evolved greatly throughout the time: from the early recordings, at the beginning of the 20th century, with nothing but a condenser microphone in the middle of the room to catch the sound produced by the whole band, to the most complex combinations of close miking of any single drum piece with other microphones to take care of the global room sound.
The technique we're going to show you today it's a compromise between the need to capture the life of the recording room and the flexibility of having two single tracks for Hi Hat and Ride.
This technique can be successfully used with a natural drumset as well as with a triggered one (or a drum with its signal Replaced), although with a triggered drumset, if properly muted, is even better: we will have "clean" cymbal tracks, reducing to the minimum any unwanted mic bleed from other drum parts, and this will help us greatly during the Editing Phase.
Some musician even prefer to record cymbals without using the drumset at all, using just the cymbals and their stands, microphoned: the drummer plays the cymbals as he would do using a drumset, following the song on his headphones. This method may feel a bit unnatural, but it's the "cleanest" way to record the cymbals signal with zero bleed from the drumset :)
Let's start talking about Overhead Cymbals (Crash, China, Splash...): these are the cymbals that are positioned above the drumset, and their sound can be captured with a couple of overhead microphones (Pic. 1), which can be dynamic, but it's very suggested to use Condenser Microphones (e.g. for our recording we have used a pair of Akg C1000), since they can capture many more details. They can be positioned with the X/Y method, as shown in Pic. 1, creating a 90° angle to one another, at around 3 or 4 feet of height (1-1.20 meter) from the drumset. This setup is good to record the whole drumset / cymbals area providing phase coherence (therefore less frequency cancellation).
There are other methods too, for example the A/B positioning: the two microphones must be at the same height, on the left and right side of the drumset, set horizontally (large diaphragm mics) or pointing towards the center of the cymbal group of their side (small diaphragm mics).
The A/B positioning is more suggested with large diaphragm condenser microphones, while the X/Y positioning is for the small diaphragm ones, like depicted on Pic. 1.
Pic. 2
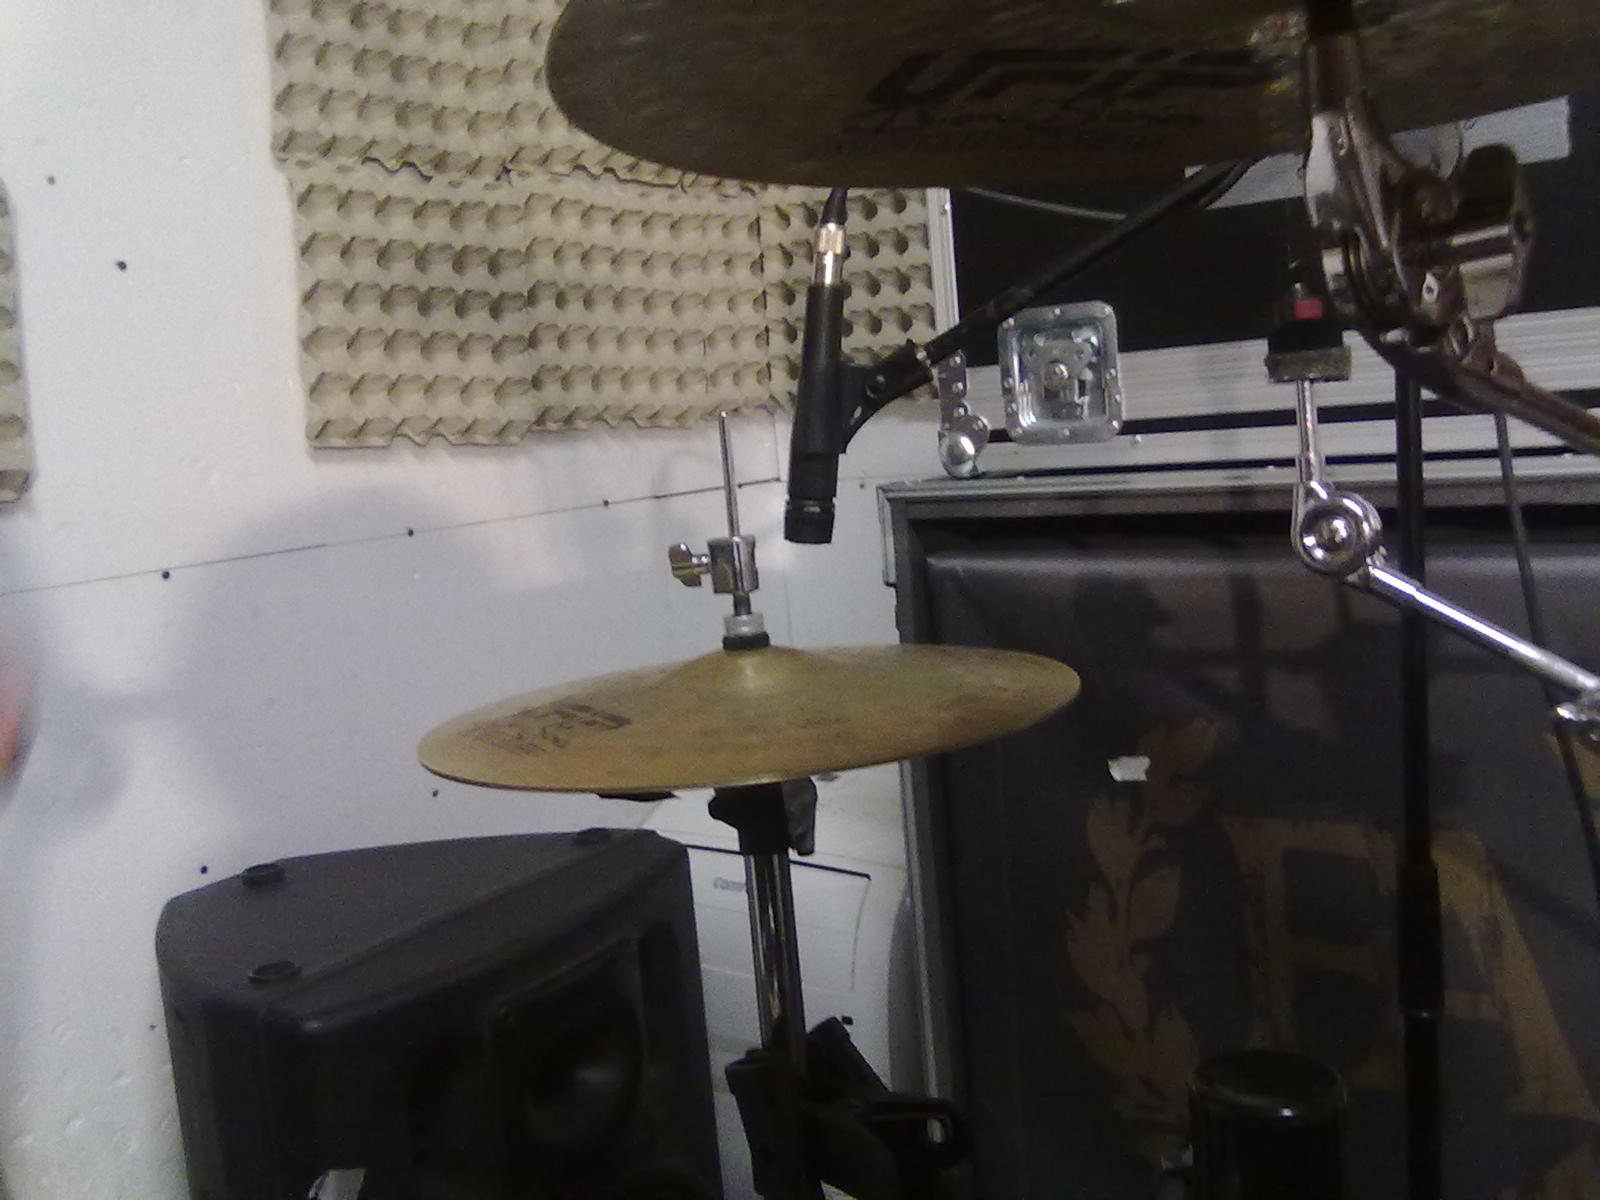
Now let's talk about the Hi-Hat (also known as "Charleston"): this drum part actually consists of two cymbals that are mounted on a stand, one on top of the other, and a pedal which can be used to clash and hold the cymbals together.
This cymbal can be close-microphoned, since it's a very important part of a drum sound, complementary to the snare. We need to process it alone, if possible, so the Hi-Hat can be microphoned with a small diaphragm conderser or with a dynamic microphone, such a Shure Sm57 as shown on Pic 2, on the upper side of the Cymbal, at a distance of a couple of inches, at the opposite side of the Snare, in order to catch as less snare sound as possible.
Pic. 3
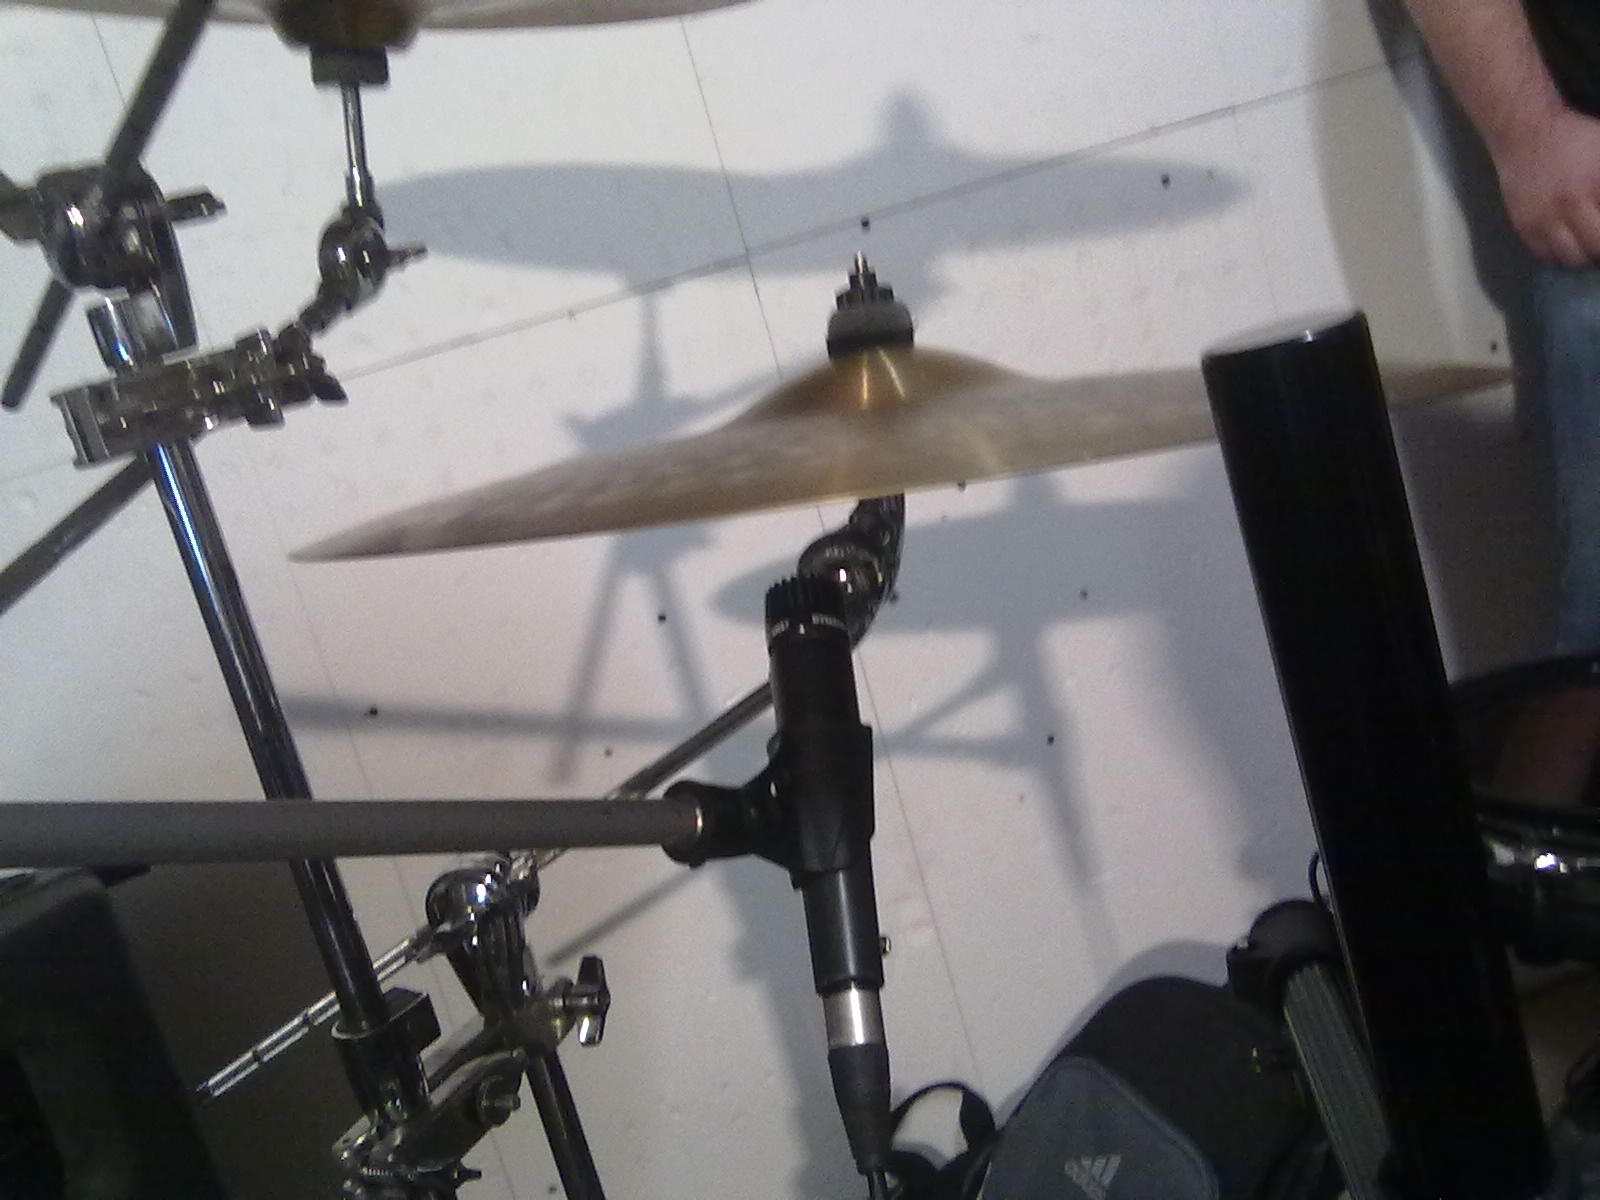
The Ride cymbal is another important drum part, with a function similiar and alternative to the Hi-Hat, so it's suggested to record it with another dedicated microphone, which can be a dynamic one as well (another Shure Sm57 on this will be perfect), but this time the right positioning is Below it, at about 2 inches of distance (Pic. 3), in order to catch as less bleed from the other drum parts as possible.
These four microphones must be connected to four Microphone Preamplifiers, therefore we will need an Audio Interface with at least four Mic Preamps, or an external Mic Preamp / Mixer to be connected to our Audio Interface on a way that lets us stream the sound of each single microphone on a different track.
Ps. Thanks to Francesco Paoli and Cristiano Trionfera from Fleshgod Apocalypse for their help on recording the drums of my band! ;)
CLICK HERE FOR THE PART 2/2 OF THIS TUTORIAL!
Become fan of this blog on Facebook! Share it and contact us to collaborate!!
No comments:
Post a Comment